Sharing the love of food and trying new recipes...

Thursday, August 14, 2014

Apricot tart with thyme-infused honey


Yesterday was my birthday so I prepared an apricot tart with thyme-infused honey to celebrate it. I had read about combining thyme with apricots in a few recipes so I thought I would try this combo along with honey. Apricots are very popular in Switzerland during Summer (well it is technically Winter this week here) and I have lots of thyme in the balcony.

I made a simple pâte sablée crust (home-made shortcrust dough is so good!), covered it with some ground almonds, added apricot halves, and finally glazed it all with thyme-infused honey and some thyme leaves. It's a very simple recipe and is great with fresh apricots. If you want to make it more simple, you can skip the thyme and honey and instead sprinkle sugar on top of the apricots before baking.

Apricot tart with thyme-infused honey:

Pâte sablée (shortcrust dough):
250 g flour
125 g butter
1 egg, beaten
1 pinch of salt
2 tbsp water
3 tbsp sugar

50 g ground almonds
1-1.5 kg apricots (I used 1 kg here but I would use more next time)
a few thyme branches
4-5 tbsp honey (use more if fruits are not very ripe or if you don't like acidity too much)
powder sugar


Mix butter and flour by making crumbs. Add all other ingredients and mix fast into a dough. Refrigerate for at least 30 min (the longer the better). Heat up the honey with some of the thyme branches in a saucepan in order to infuse the honey with thyme aroma.
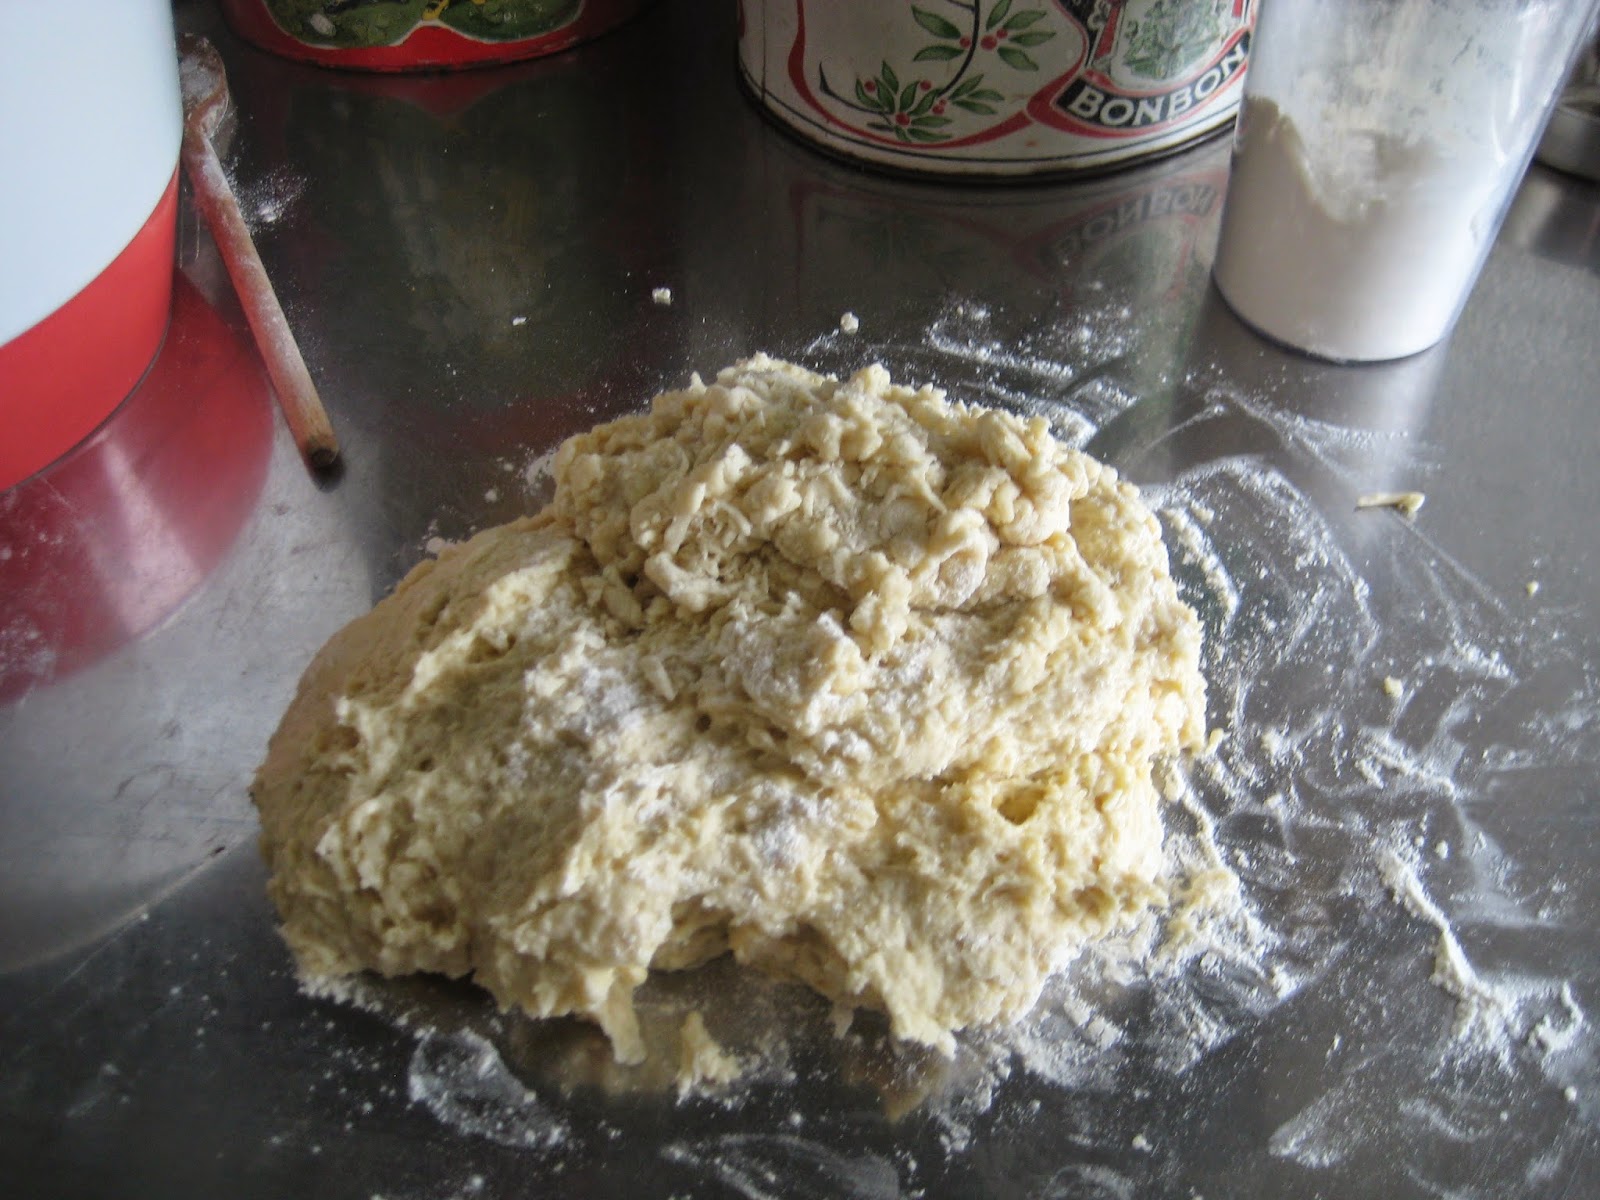
Roll out the dough onto a (very) floured table (flip the dough several times so it doesn't stick to the table) and transfer to a buttered + floured tart form. Prick it with a fork and pre-bake 10 min at 200 C.


Cover the dough with ground almonds. Cut the apricots in halves and place them as to make a flower (see picture, with the interior up). Glaze the apricots with the thyme-infused honey and sprinkle some thyme leaves on top. Bake for 30 min at 200 C.
Let it cool down and then sprinkle powder sugar on top.

Thursday, August 7, 2014

Update - recipes and practice

Since the past month, I have updated a few posts with new pics and recipe details on Laura's Gourmandises including:

- semlor (almond and cream filled buns)
- carrot cake
- dark chocolate mousse
- apple cake

Semlor
Carrot cake
Dark chocolate mousse
Apple cake
 

I have added new basics recipes (marzipan, pistachio paste), and have also linked related recipes to each other such as:
- toscakaka, midsummer strawberry cake and chocolate chip cake
- blueberry, rhubarb-walnut, banana-oatmeal and chocolate chip muffins
- marzipan and kanelbullar
Marzipan
Kanelbullar

- pistachio paste and apricot-pistachio tart
http://laurasgourmandises.blogspot.ch/2014/07/pistachio-paste.html
Pistachio paste
Apricot-pistachio tart


Also, in the next few weeks I will take some time to practice certain techniques I learned at the Cours de Pâtisserie chez Benoît Violier at the Hôtel de Ville in Crissier (3-star Michelin gastronomic restaurant outside Lausanne). I received this pastry class as gift from my friends and enjoyed it a lot. Not only did I learn how to make pâte à choux and chouquettes, macarons, lemon tart, financier and ganache, but I also discovered a professional kitchen, how organized and precisely cooks work there and the superior quality of the ingredients and products used and served there. It was a great and inspiring experience!

Laura's "sablé, blanc manger et fraises guariguette" chez Benoît Violier

Thursday, July 31, 2014

Quick and easy chocolate chip cake


This recipe of chocolate chip cake is extremely easy and fast to produce. My friend actually asked me one day whether I could make a quick and easy cake with melted chocolate in it, so I decided to take the base recipe of the Toscakaka, remove the almond crust and add chocolate chips instead. You can use this spongecake recipe as base for many cakes, including the Swedish midsummer strawberry cake, and adapt it to your taste with fruits, nuts, and chocolate.
The chocolate chip cake is perfect for kids and grownups who are craving for some melted chocolate in a cake and I recommend eating it still warm... it is so good!

Chocolate chip cake recipe:

2 eggs
2 dl sugar
50 g butter
1.25 dl milk
3 dl flour
1.5 tsp baking powder
2 tsp vanilla sugar
200 g chocolate, dark or bittersweet

Beat up the eggs and sugar until white. Melt the butter, add the milk and heat up to 37C. Mix the flour, baking powder and vanilla sugar. Mix all the ingredients together. Chop up the chocolate into chips and add half of it to the dough, mix. Transfer to a buttered and floured cake pan ans sprinkle the other half of chocolate chip on top of the cake. Bake approx. 25 min at 175C in the center of the oven.

Monday, July 21, 2014

Pistachio paste


Pistachio paste is the pistachio equivalent of marzipan or almond paste. When made from fresh pistachio it is extremely tasty and much better than what is commercially available (and much cheaper too). I use it for ice-cream, cakes, and for my favorite apricot-pistachio tart.

Pistachio paste:

125 g peeled pistachios
35 g powder sugar
1-2 tbsp oil
1 tbsp water
2 drops of almond concentrate


Grind pistachios very finely. Add powder sugar and mix. Add liquids and mix into a paste (it should look like a green marsipan). Use right away or cover it with plastic wrap and freeze down. You can use it in ice-creams, cakes, fillings etc.

Adapted from: http://lucilevarnet.canalblog.com/archives/2012/09/21/25114591.html

Marzipan (almond paste)


Marzipan is a paste made of finely ground almonds mixed with sugar and some liquid to make it hold together. It is called "massepain" in French and "mandelmassa" in Swedish.

Marzipan:

200 g finely ground almonds (or almond flour)
200 g powder sugar
0.4-0.5 dl water
optional: a few drops of almond extract


Mix almonds and sugar. Add water bit by bit while mixing until obtaining a solid shiny paste. Form a roll with it and wrap it in plastic film. Store it in the freezer until further use (in for example kanelbullar / Swedish cinnamon buns).

Sunday, July 20, 2014

Kanelbullar (Swedish cinnamon buns)


Kanelbullar and kanellängder (cinnamon buns and rolls)


Cardamom buns


Kanelbullar, or Swedish cinnamon buns, are one of my favorite desserts ever. They are sweet cardamom-scented buns filled with butter, cinnamon, sugar and sometimes marzipan and or cardamom too. Kanebullar are very typical of Sweden where they are eaten all-year round typically for fika (afternoon coffee time with a pastry) but also as snack, breakfast...

They take some time to bake (because of leavening times) but are otherwise very easy to produce (I made them as a kid on rainy afternoons with my girl friends). The dough is the same as for Semlor (almond-filled cream buns eaten on Mardi Gras in Sweden) and is the time-limiting factor in the recipe (basically the longer you let it leaven the longer it takes but the better they taste). The advantage however is that once they're baked you can easily freeze them down and keep them for the times you want a good Kanelbulle for dessert :-)

Recipe for about 30-40 buns or 4 rolls or 2 crowns:

Dough:

150 g butter
5 dl milk
50 g yeast (fresh!)
1/2 tsp salt
1 dl sugar
1 tsp cardamom (ideally seeds that you grind yourself)
1.4-1.5 liter flour

Cinnamon Filling (enough for 1/2 of the dough):

1 dl sugar
2 tsp cinnamon
100 g butter at room T

Cardamom Filling (enough for 1/2 of the dough):

1dl sugar
1.5 tbsp cardamom (must: seeds that you grind yourself)
100 g butter at room T

Filling option: add 100-200 g marzipan* to the cinnamon or cardamom filling above

Decoration:

some milk (you could also use cream or a whipped up egg)
pearl sugar
optional: sliced almond
optional: syrup (1dl water + 1dl sugar, brought to a boil)

Prepare the dough first: for this I highly recommend using the Assistent from Electrolux/Ankarsrum as this is how the dough is prepared in Sweden. You could do it by hand (as pictured below) but it will take more time / energy to work the dough.
Melt butter in a saucepan, add milk and heat up to 37 C (fingerwarm). Break down the yeast in crumbs in a big bowl and dilute it with some of the butter-milk mix. Add the remainder liquid, salt, sugar, cardamom, and almost all flour. Mix into a dough: on the Assistent mix for 5 min on low speed and another couple of minutes on medium speed, until the dough comes off from the bowl and until the dough can be stretched between fingers. Finalize working the dough on a floured table until it does not stick too much any more, and transfer it back to the bowl. Cover it with a cloth and let it leaven for at least 30 min (I recommend 1-1.5 hr... the longer the better). You do not want any draft in the kitchen at that point so I recommend putting the dough to leaven in the oven or in a closed space (closed windows).


While the dough is leavening, take the butter out for the filling. In a bowl mix and prepare your filling(s) - alternatively you could also not pre-mix. Cut the dough in 2 or 4 parts depending on what you've decided to make (buns, roll, crown). On a floured table, roll out the dough into a square that's approx. 5 mm thick. Cover the whole surface with your pre-mixed filling - or if not pre-mixed then 1) butter (a good nice layer, there's never too much butter here) and 2) sugar and cinnamon/cardamom. Optional: add a thin layer or small pieces of marzipan* on top.


For buns, rolls, and crowns: roll up the dough (from the long side) tightly. Here you can leave it as a roll and 1) make small incisions on the surface or 2) turn the roll into a flower roll or crown by making deep incisions with scissors and folding over (shown below). Alternatively you can cut the roll in 2-3 cm thick slices and transfer them to buns forms.
For buns as the cardamom buns in the picture: don't roll the dough but fold it in 2. Then slice the dough into strips of about 1.5cm (x 30-40cm). Twist and roll up that strip into a bun (I followed that video). 
Transfer the rolls / buns to an oven plate covered with parchment paper and let them leaven for another 30 min (under a cloth). Paint the buns / rolls with milk (or cream or a whipped up egg as you prefer) and finally decorate them with pearl sugar and sliced almonds (for the ones that have marzipan).

Bake for apparox. 12 min at 225 C. Transfer to a grid to let them cool down. If you want your buns to look extra shiny (and be extra sweet and juicy) then paint them with syrup (bring to a boil 1dl water + 1dl sugar) after taking them out of the oven.

Kanelbullar (buns)

Plain roll with incisions
Crown
Flower roll

*I make my own marzipan, you can find the recipe here

Tuesday, July 1, 2014

Gingersnap-Base Lime Mousse Cake


What kind of dessert can I make with limes that's going to be fresh, summery and leave you wanting for some more? That's the question I was facing last weekend after having bought a bag of limes and having no clue what to do with them. I searched the web for some inspiration, found and compiled a few recipes here and there, and finally designed my own recipe: a no-bake, no-egg, fresh and airy lime mousse cake with a gingersnap base :-)

The mousse is easy to prepare with the only technicality being the incorporation of the whipped cream into the fresh cheese mix. There is no baking involved in this recipe, meaning that you can do this without an oven. I advise you to prepare this dessert the night before or in the morning if you serve it in the evening in order to give the cream enough time to settle and stiffen. This recipe is also feasible with other citrus fruits (lemon, orange, grapefruit...) and you can adjust the sugar dose to your taste (i.e. depending on whether you like more or less acidic or sweet).

Try it yourself! When I made it for my friends, we all thought it was fresh and light, and the gingersnap base made for a great taste contrast and complement with the lime mousse. Alternatively, you can also prepare the mousse alone and prepare it in small cups and decorate it with lime zest!

Recipe for the Lime Mousse Cake

150 g gingersnaps (pepparkakor or speculoos)
80 g melted butter
3 limes, zest + juice
400 g fresh white cheese (I suggest 1/2 cream cheese and 1/2 low fat fresh cheese like faisselle)
90 g sugar
3 leaves gelatin
2.5 dl cream
25 g powder sugar


Crush the ginger snaps into crumbs, add zest of one lime and the melted butter. Mix into a paste and press it into a spring form. Refrigerate while preparing the mousse.
Drain the fresh white cheese, add the zest of 2 limes and sugar, and beat well. Wet the gelatin leaves in cold water. Gently heat up the lime juice (of 3 limes) and melt the (drained) gelatin in it. Add the lime juice/gelatin to the cheese mix while beating. In another bowl beat up the cream and add powder sugar towards the end to make the beaten cream "tighter". Carefully fold the whipped cream into the cheese mix and then transfer to the spring form on top of the ginger snap layer. Refrigerate overnight or at least 6 hrs. Finally decorate with some lime slices or grated lime.